Build a Full PowerShell Utility
This article is a text version of a lesson from our PowerShell and Active Directory Essentials video course (use code ‘blog’ for free access).
The course has proven to be really popular as it walks you through creating a full Active Directory management utility from first principles.
Get the Free PowerShell and Active Directory Essentials Video Course
Coding With PowerShell
It can be hard to get started with PowerShell, especially if over the years you’ve become accustomed to working with the cmd.exe command line or batch files. In this article (based on Lesson 2 of our PowerShell and Active Directory course), we’ll cover how and why you should upgrade your skills to PowerShell and the fundamentals of launching the PowerShell editor, command completion and how to get always up to date help and examples.
Running Commands

The PowerShell console is an interactive console that enables you to run various commands in real time. There’s no need to edit a script in Notepad and then run it separately, a big time saver.
If you’re in any organization that’s been around for any length of time, you’ve probably already got some smaller scripts, bat files, or procedures that you run from the cmd.exe command line. Great news! You can invoke all of that from with PowerShell, this was a deep design decision on the part of Microsoft as they were trying to make the transition as easy as possible for sysadmins.
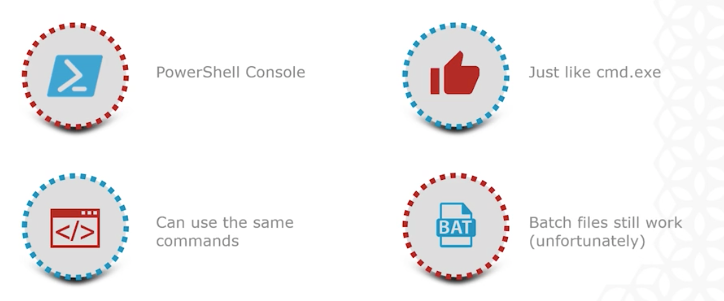
In appearance, the PowerShell editor looks and functions just like the cmd.exe command prompt environment. The utilities and skills you already know will work within PowerShell right now with no modification. If you’re working on making the transition from one-off tasks to enabling a more automated network, getting in the habit of firing up PowerShell instead of the command prompt is a good way to start.
All of your often used utilities like ping, ipconfig, dir, etc will all work exactly as you’ve come to expect.
How to Find PowerShell Commands
People love PowerShell because it’s so, well, powerful. But that power comes from an absolutely insane amount of complexity. It’s just not feasible or practical for someone to memorize all of the different commands, cmdlets, flags, filters and other ways of telling PowerShell what to do.
Thankfully, built right into the editor are multiple tools to help you deal with this fact.
Tab Completion
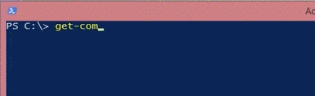
There’s no need to memorize all of the different commands or exact spelling of a command. Type
get-c
Into the editor and hit the TAB key – you’ll cycle through all the commands beginning with what you had input so far. This works at any section of the command you’re trying to invoke, the name (as shown below), but also flags and paths that you’re manipulating to get your desired outcome.
Get-Command
While tab completion works well, what happens if you don’t know the name of the command you’re looking for? In that case, you’d use a command for finding other commands: Get-Command.
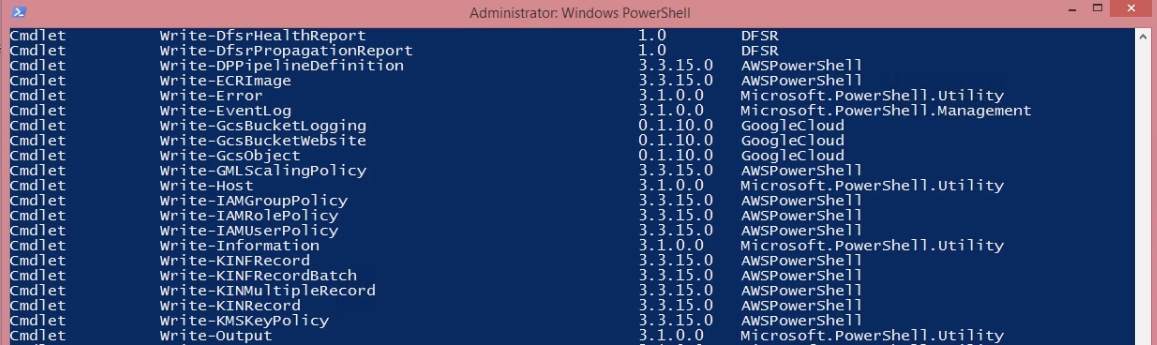
In searching for commands, it’s important to keep in mind that there’s a syntax to them: VERB-NOUN. Typically the verbs are things like Get, Set, Add, Clear, Write and Read and the Nouns are the files, servers, or other items within your network and applications.
Get-Command is a discovery tool for exploring the commands available on your system.
PowerShell’s Command Syntax
Someone once described the Perl scripting language as looking like “executable line noise” – an incredibly useful tool with a wildly opaque syntax and a correspondingly high learning curve.
While not quite to that level the traditional command prompt in Windows isn’t too far off. Consider a common task like finding all the items in a directory whose names start with the string ‘Foo’.
CMD: FOR /D /r %G in (“Foo*”) DO @Echo %G
FOR and DO indicate that it’s a loop.
The /D flag indicates this is for Directories
The /r flag indicates that “Files Rooted at Path”
The pattern that defines the set of files to be looped over is designated with “in”
@Echo instructs the script to write out the result of each loop and finally
%G is the “implicit parameter” and is chosen because earlier developers had already used the pathname format letters a, d, f, n, p, s, t, and x. So, starting with G is traditional as it gives you the largest set of unused letters for returned variables ( G, H, I, J, K, L, M) – in other words, it’s an ugly hack.
Compare that to the PowerShell equivalent:
PowerShell: Get-ChildItem -Path C:\Example -Filter ‘Foo*’
The output’s functionally the same, but even in this fairly trivial example, it’s much much easier to understand what’s happening. It’s immediately obvious what all the elements in the command do and how you could modify them. The only slightly non-obvious thing here is the * wildcard character (present in both examples) which indicates that the pattern used to match items should start with ‘Foo’ and end in anything else.
It just keeps getting better from here as say you want to know how to identify just files (not directories) in the path? You could dig up the docs, Google around and try to sort that out with the command line version, or if you’re in PowerShell, type “-” and hit the tab key, rolling through the flag options until the obvious solution shows up.

One Big String vs Object Properties
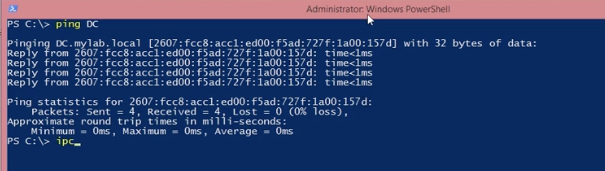
Servers are no good to anyone if they’re not online. Which is why people spend an inordinate amount of time pretending they’re sonar operators on a submarine and ping’ing them (yes, that’s actually why it’s named that – https://en.wikipedia.org/wiki/Ping_(networking_utility)
While the output from ping is useful (and you can use ping within PowerShell), at the end of the day the output is just a big string – a series of letter and number characters with no defined breaks between them).
PowerShell has a command that’s analogous to ping, but that returns data that’s structured, making it easy to work with. That command is Test-Connection.
Below you can see the output of pinging a server (named ‘DC’ on their local network) and the equivalent Test-Connection output.
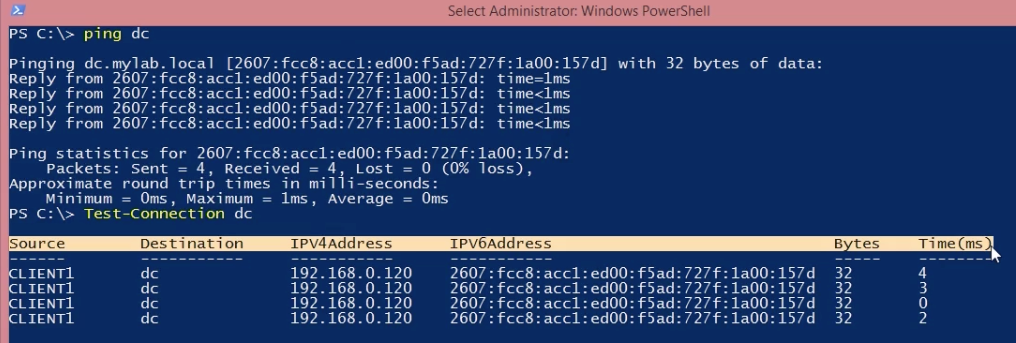
Putting aside that it’s easier to read, what’s really important is that you can now pass this information off to another command, incorporate it into a larger utility (as this full course is working towards) or just tweak it so that it makes more sense.
Geting Help System
Up to now, we’ve focused on how to manipulate a particular command as you’re in the middle of it (via tab completion), but as you start doing more and more with PowerShell, the commands become more complex with even more complex options. While the Verb-Noun syntax helps, what helps, even more, is having:
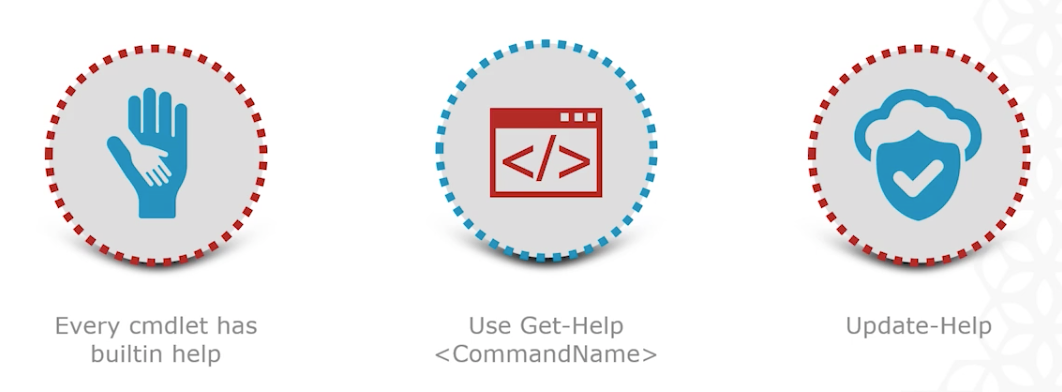
1. Up to date documentation
2. Lots of examples
CmdLet Help
In practice, you should combine Get-Command (to find what to use) and then use Get-Help to find out how to use that particular command.
A practical example of how to do this: suppose you need to identify all the running Windows Services on a machine.
You would start by looking for commands for service interaction:
Get-Command service
Which would tell you at a glance that you were on the right track. Thinking back to the standard Verb-Noun syntax of PowerShell commands, you want to investigate how to properly use ‘Get-Service’.
MicroSoft’s Office Get-Service Documentation
For this, you’d use a new command ‘Get-Help’. Start by typing
“Get-Help -” and hit the Tab key
You’ll quickly find the available options, the most obviously suitable one being “-Name”, so you’d try:
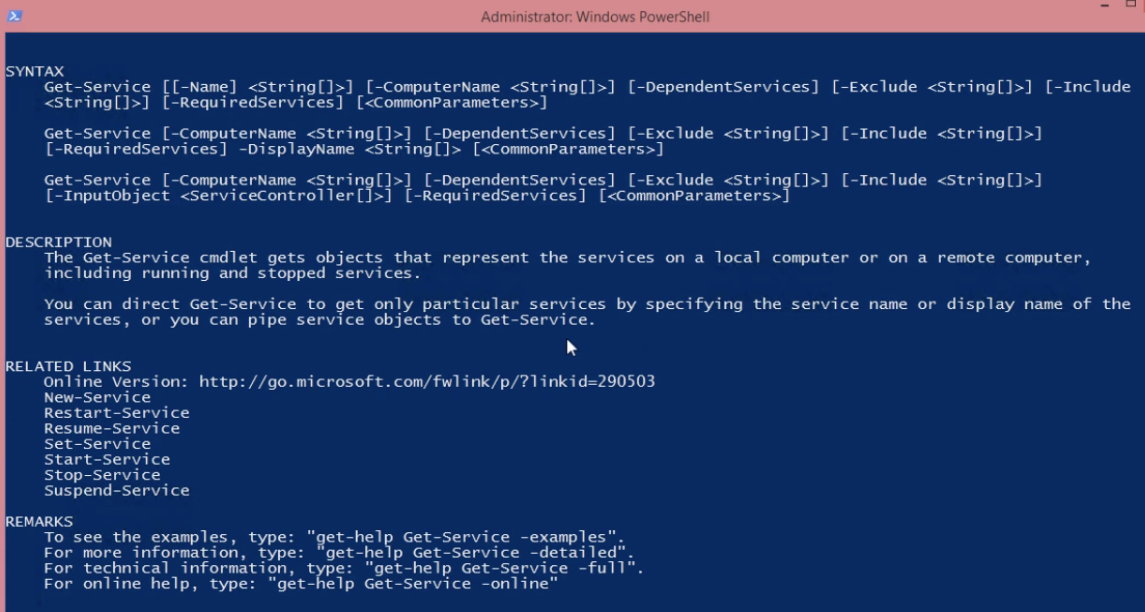
Get-Help -Name Get-Service
Immediately you get the full Syntax (and that you can include or exclude names based on filters).
If you wanted to deep dive into a particular aspect of the command you can drill down further with Get-Help, including each parameter
Get-Help -Name Get-Service - Parameter Name
PowerShell Help Examples
Because we’re all humans reading this (no offense Google bot), we have the same mental hurdles to overcome with respect to pattern recognition and translating abstract command syntaxes into what we should actually type to accomplish what we need to get through the day.
By entering in “-examples” or included with the “-detail” flag for Get-Help, you’ll be presented with a set of examples for using the command.
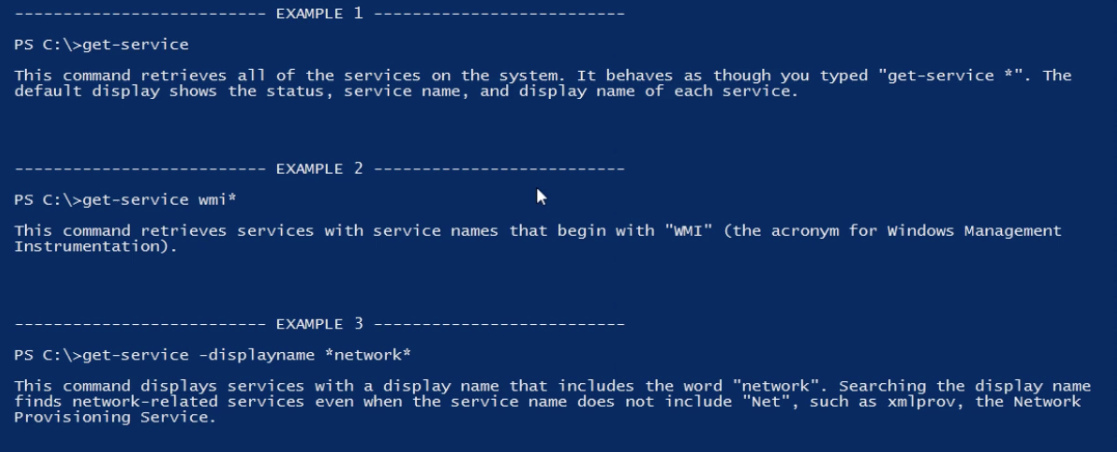
Here is the output for:
Get-Help -Name Get-Service -Examples
Staying Up To Date
Nothing is more frustrating than entering in exactly what an example says you should, only to have it not work as documented. Often this is caused by out of date documentation, bad examples, or updated libraries.
Sidestep these frustrations as well as get new examples and fixes with the
update-help
Command. you’ll start the download process.
Next Steps with PowerShell
Want to learn more? Use unlock code ‘blog’ for free access to the full PowerShell and Active Directory Essentials video course.


-1.png)