
Whether you're consolidating domains, restructuring forests, or responding to an emergency, migrating Active Directory objects is a task that demands precision and the right tools.
The Active Directory Migration Tool (ADMT) is Microsoft's go-to utility for securely moving users, groups, and computers between domains. While some migrations are carefully planned and scheduled, others are driven by urgent incidents like hardware failures or security breaches.
Regardless of the scenario, understanding how to use ADMT ahead of time can save you from major headaches down the road. This guide walks you through everything you need to know to confidently navigate AD migrations with ADMT.
What is the Active Directory Migration Tool (ADMT)?
The Active Directory Migration Tool (ADMT) is a Microsoft software application that helps you manage and perform the necessary operations to move AD objects. You can move objects within the same domain forest (intraforest) or to a different forest (interforest).
Prerequisites for installing the Active Directory Migration Tool
Here are the most important system requirements that you need to know about for ADMT.
- You need to install ADMT on Windows Server 2008 or later.
- ADMT doesn’t work on Read-Only Domain Controllers (RDOC).
- The source and target domains also need to be running supported Windows Server versions.
- ADMT requires a SQL server to store data. The SQL instance can live anywhere.
How to install ADMT
The most challenging part of installing ADMT is typically setting up or provisioning a SQL Server; everything else is relatively straightforward.
- Download the installer from Microsoft.
- Run the installer.

- Click Next, Agree to the EULA, and then either join the Customer Experience Improvement Plan or not, and click Next.
- Enter the SQL server you are going to use for ADMT in the next dialog:

- Click Finish when it’s done!
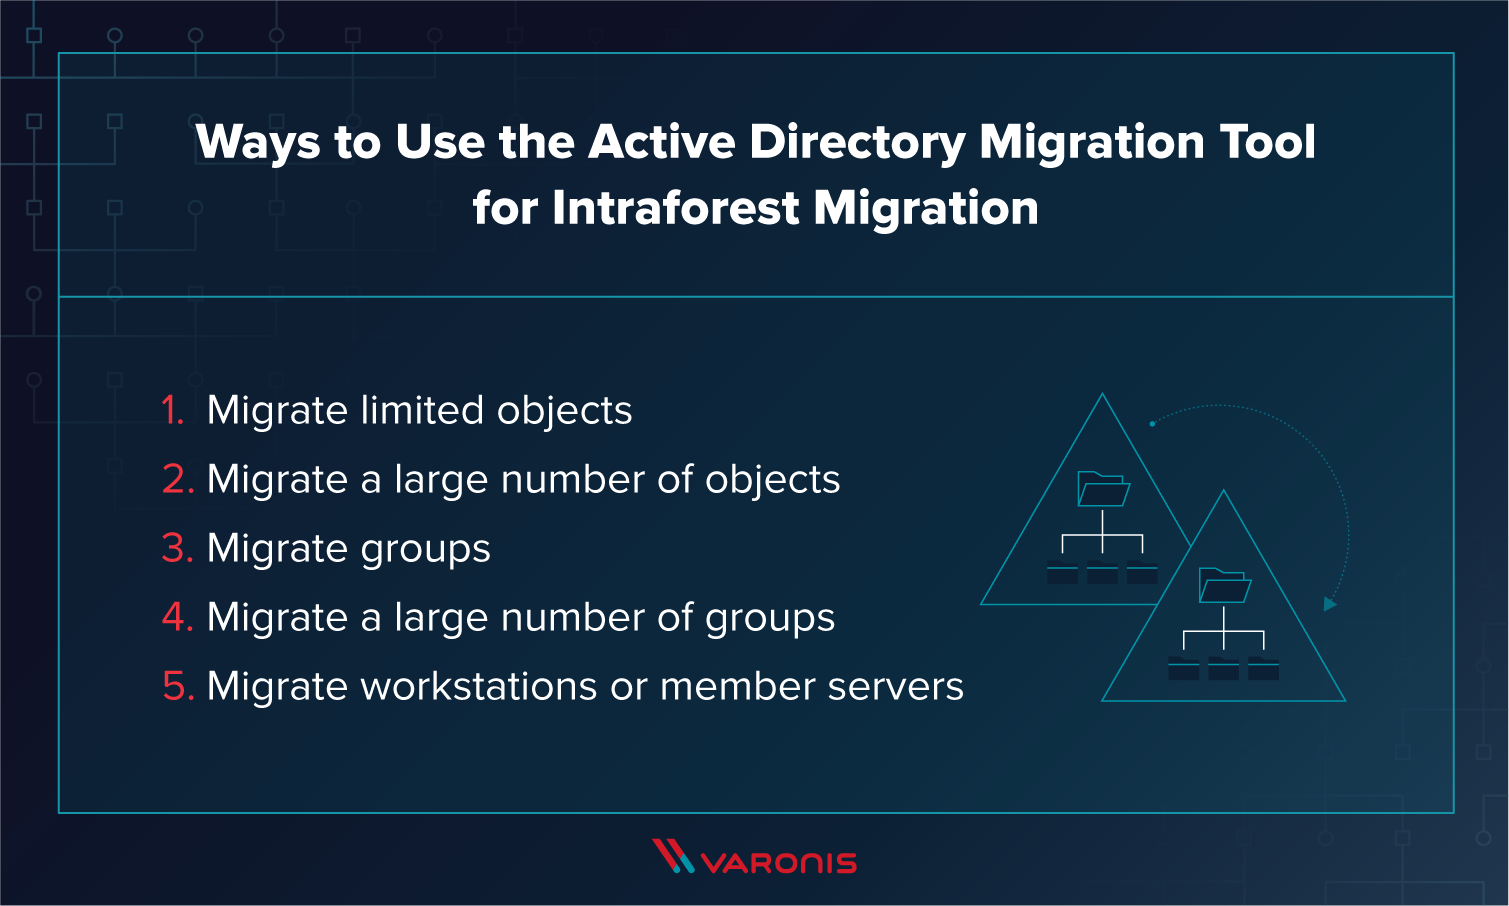
Ways to use Active Directory Migration Tool (ADMT) for Intraforest Migration
Now we are going to walk through a common usage scenario for ADMT: an intraforest migration. This is when you need to move objects from one location to another in the same AD forest.
Behaviors to consider during intraforest Active Directory domain object migration
Before using ADMT, there are a few critical steps to take:
- Understand your domain trust relationships. Missing or misconfigured trusts can lead to users losing access to essential resources after the migration.
- Document everything. Create a spreadsheet or tracking system to log the objects you’re migrating, including their source and destination paths, and track their status throughout the process.
- Develop a test plan. ADMT won’t verify functionality for you, so you’ll need to test post-migration access, permissions, and functionality to ensure everything works as expected.
- Know that there’s no rollback. ADMT doesn’t include an undo feature—once changes are made, they’re permanent. Make sure everything is validated and backed up before proceeding.
The importance of an include file
For large moves you should use an include file to input the move data into ADMT. Small moves — under ten objects or so — you can manage in the UI or command line. You will want to use an include file for more objects than that.
An include file is a list of each object you want to move and where you want the object to move to. Here are the four possible items in each line of an include file.
- SourceName The SAM account name of the object you are moving.
- TargetRDN The new relative distinguished name of the object after the move.
- TargetSAM Specifies the new target SAM for the object.
- TargetUPN Specifies the new UPN for the target – only applies to user objects.
A simple example of an include file would look like this:
Vader,CN=dvader,dvader@evilgalacticempire.org
Only the source name is required in the first column – the rest of the fields are optional. In this case, we specified the RDN and the UPN for the new object.
Understanding Active Directory forest
As previously mentioned, you need to map out your AD forest before you perform your migration. Forests can have parent–child relationships that have default trusts, or you could configure trusts manually between domains.
A domain trust means that authentications to one domain are trusted (the second domain accepts the first domain’s authentication) by other domains with a valid trust relationship.
If you don’t verify your trust relationships before you migrate objects you might inadvertently lock out users or objects.
Before you migrate
- Create a spreadsheet of your migration. Track the source objects and their target locations. Use this spreadsheet to create your Include File.
- Double-check your spreadsheet and include the file.
- Run a migration test with a test account and verify permissions. If you are using a least-privilege model, you might need to run more than one test depending on your source permission sets.
- Follow your change management process and inform users of the impending changes.
- Make sure you are using the latest and greatest ADMT from Microsoft as you prepare and test your migration.
Migrating limited objects
Follow this procedure when you are migrating a small number of objects with ADMT.
- Select the Source and Target Domain Controller and Domain. Click Next.
- Open ADMT.

- From the Toolbar, select Action -> User Account Migration Wizard. You will see this dialog. Click Next to start the wizard.
- Select the Source and Target Domain Controller and Domain. Click Next.

- Click Select Users from Domain in the next dialog.
- In the next dialog, click add and select the users from the domain that you want to migrate, click OK.
- Check the main window and verify that the displayed users match the users you want to migrate. Click Next.
- Select the target Organizational Unit (OU). Click Next.
- Select the checkboxes for translate roaming profiles and update user rights. Ignore any warnings and click Next.
- The next dialog is the Conflict Resolution dialog. Select do not migrate source object if conflict is detected in the domain just in case there are any conflicts to resolve. Click Next.
- Click Finish, wait for the process to complete, and look for any error messages and a migration summary.
Migrating a large number of objects
This process mirrors the previous steps, but with one key difference: you’ll choose the option to read objects from an include file. Just make sure your include file is properly formatted; if it is, the rest of the workflow proceeds exactly the same.
Migrating groups
There is a different wizard to migrate entire groups in AD. Migrating groups is a similar process to individual users.
- From ADMT, select Action -> Group Account Migration Wizard.
- In the next dialog, fill in the source and target domains. Click Next.
- Next, select the box for the appropriate option – select groups or include file. Click Next.
- Enter the target OU. Click Next.
- Leave everything blank in this dialog and click Next.
- In the Conflict Resolution dialog, select “Do not migrate source object if a conflict is detected in the target domain.” Click Next.
- Double check your input in the following dialog and click Finish.
- Verify the results.
Migrating a Large Number of Groups
This process is the same as the process for groups above, except you use the include file option. Verify ADMT reads your include file correctly before you click Finish.
Migrating workstations or member servers
- From ADMT, select Action -> Computer Migration Wizard.
- In the next dialog, fill in the source and target domains. Click Next.
- Next, select the box for the appropriate option: groups or include file. Click Next.
- Enter the target OU. Click Next.
- Leave everything blank in this dialog and click Next.
- In the Conflict Resolution dialog, select Do not migrate source object if a conflict is detected in the target domain. Click Next.
- Double check your input in the following dialog and click Finish.
- Verify the results.
Migrating objects from child domain to parent domain using command line
You can use PowerShell to do these same jobs without the ADMT GUI.
To migrate users without an include file use the following syntax:
ADMT USER /N “”<username>” /IF:YES /SD:<”sourcedomain”> /TD:<”targetdomain”> /TO:<”:”>
Parameters:
/N user or group name you need to migrate
/IF Yes if you are doing an intraforest migration
/SD the source domain
/TD the target domain
/TO the target OU
To migrate users or groups with an include file:
ADMT USER /F “<includefile_name>” /IF:YES /SD:<”source_domain”> /TD:<”target_domain”> /TO:<”target_OU”>
/F is the include file you created for the migration.
Maintaining Active Directory correctly with tools like ADMT can reduce your risk profile and protect you from cyberattacks. Without proper care, your AD could become a target rich environment of over-permissive or stale accounts.
How to test Active Directory after migration
After migrating users or computers, test the following to ensure everything works:
- Login verification: Can migrated users log into target domain systems?
- Resource access: Are file shares, applications, and printers still accessible?
- Group membership accuracy: Validate that users retain correct permissions.
- GPO inheritance: Confirm that Group Policy settings apply as expected.
- DNS resolution: Ensure clients and servers resolve domain names correctly.
Testing ensures issues are caught early before they affect end users.
Ready to migrate with confidence?
Whether you’re planning a large-scale domain consolidation or responding to an urgent incident, understanding how to use ADMT effectively can make all the difference. With the right preparation, documentation, and testing, the Active Directory Migration Tool can help you move users, groups, and systems with minimal disruption and maximum control.
Looking to reduce risk and tighten security across your environment? Dive deeper into best practices for securing Active Directory in our on-demand webinar: 25 Key Risk Indicators to Help Secure Active Directory.
FAQs about Active Directory Migration Tool (ADMT)
What is the Active Directory Migration Tool (ADMT)?
The Active Directory Migration Tool (ADMT) is a Microsoft software application that helps you move AD objects within the same domain forest (intraforest) or to a different forest (interforest). It provides a way to migrate users, groups, computers, and other Active Directory objects from one location to another. ADMT is essential for organizations during domain consolidations, restructuring, or when responding to emergency situations like hardware failures.
What are the key benefits of using the Active Directory Migration Tool?
ADMT simplifies complex Active Directory restructuring projects. It helps organizations seamlessly move users, groups, computers, and profiles between domains. The tool maintains security settings during migration, preserving access controls and permissions. ADMT also offers both GUI and PowerShell interfaces, accommodating different administrator preferences and automation needs.
How should I prepare for a domain migration using ADMT?
Create a detailed spreadsheet documenting all objects to be migrated and their destinations. Verify trust relationships between domains to prevent accidental lockouts. Run test migrations with sample accounts to verify permissions and functionality. Follow your organization's change management process and inform users about upcoming changes.
What are common ADMT limitations administrators should be aware of?
ADMT lacks a rollback function, making migrations essentially permanent operations. The tool has compatibility issues with newer Windows client versions like Windows 10 and 11. ADMT requires a SQL Server instance, adding infrastructure requirements. Consider alternatives like ForensiT for computer migrations if experiencing compatibility problems.
What's the difference between intraforest and interforest migrations?
Intraforest migrations move objects within the same Active Directory forest. Interforest migrations transfer objects between separate forests with different trust relationships. Intraforest migrations generally require less planning for security permissions, while interforest migrations require more careful consideration of trust relationships and security implications.
What are the prerequisites for installing ADMT?
ADMT must be installed on Windows Server 2008 or later and doesn't work on Read-Only Domain Controllers. Both source and target domains need to run supported Windows Server versions, and ADMT requires a SQL server instance to store data, which can be located anywhere in your network. Before performing migrations, you should also understand the domain trust relationships in your forest and create documentation for the objects you plan to move.
How do I install the Active Directory Migration Tool?
Installing ADMT is straightforward once you have a SQL server available. Download the installer from Microsoft, run it, and follow the wizard prompts. You'll need to agree to the EULA, decide whether to join the Customer Experience Improvement Plan, and specify the SQL server ADMT will use for data storage. After completing these steps, the installation will finish, and you'll be ready to use the tool for migrations.
What's the process for migrating users with ADMT?
To migrate users with ADMT, open the tool and select "User Account Migration Wizard" from the Action menu. You'll need to specify source and target domain controllers, select the users to migrate, choose the target Organizational Unit, and configure options like profile translation. For small migrations (under ten objects), you can use the UI directly, but for larger migrations, create an include file listing each object and its destination. After configuring all settings, review your selections and click Finish to start the migration.
How can I handle large-scale migrations with ADMT?
Create an include file listing all objects to migrate with their source and destination details. Test your include file with a small subset of accounts before full implementation. Use PowerShell commands to automate the migration process for better efficiency. Monitor the migration closely and verify results against your original migration plan.