
Are you tired of managing Active Directory using the graphical interface? Then you might be interested in the Active Directory PowerShell module! This module gives you the ability to manage Active Directory using commands in PowerShell. Harnessing the module opens up the possibilities of automating management tasks like user creation and removal.
Get the free PowerShell and Active Directory Video Course
In this post, you will learn more about the Active Directory PowerShell module, installing the module on different Windows operating systems, and importing the module into a PowerShell console. To follow along with this tutorial, you will need:
- A computer with Windows 10 Professional or Enterprise
- A computer with Windows Server 2008 or higher (this tutorial uses Windows Server 2019 Enterprise)
- Windows PowerShell 5.1
What is the PowerShell Active Directory Module?
The Active Directory PowerShell module consolidates a group of cmdlets used to administer on-premises Active Directory. You use these cmdlets for domain management and managing users, groups, and objects.
Need to manage Azure Active Directory or Office 365? Check out Jeff Brown's article How to Connect to Office 365 PowerShell (Azure AD Modules)!
While you can manage your environment using graphical interfaces (like Active Directory Users and Computers), PowerShell provides the ability to make changes at scale. You issue PowerShell commands that can iterate through a user list to modify an attribute much faster than the graphical interface.
The Active Directory PowerShell module is automatically installed on domain controllers in your environment. However, if you want to manage your Active Directory environment remotely, you need to install the module on your system. The following sections outline multiple ways to install the modules based on your operating system.
How to Install Active Directory PowerShell Module
Installing the PowerShell module is not standardized across Microsoft's multiple Windows operating systems. Review the sections below and find the method that fits your scenario!
Installation on Windows 10
The procedure for installing the Active Directory PowerShell module depends on the Windows 10 version. To determine your version of Windows 10:
- Click the Start button and search for "settings." Select Settings from the search results.

- In the Settings application, select System.

- In the Systems section, select About. On the right, look for the Windows specifications section and note the current Version.

To see a complete list of Windows 10 versions and release dates, check out this article from Microsoft:
Microsoft Docs | Windows 10 - Release Information
Installing on Windows 10 Prior to Version 1809
Before Windows 10 version 1809, Microsoft made the Active Directory PowerShell module available through the Remote Server Administration Tools for Windows 10. This software install includes the module as well as several other remote management features.
- On the Windows 10 system, open a Web browser and navigate to this address to download the RSAT Tools for Windows 10:https://www.microsoft.com/en-us/download/details.aspx?id=45520
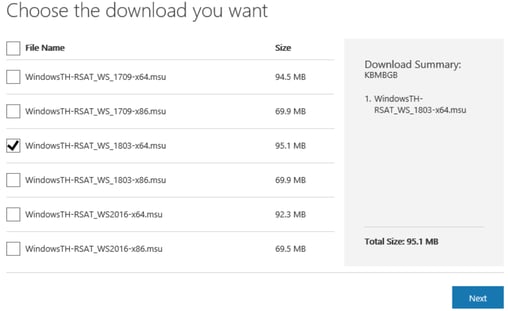
- Select your language, then click Download. On the file list page, select the x86 for 32-bit systems or x64 for 64-bit systems of the WS_1803 installer. Click Next.
- Save the installer to a location on your system that you can locate again. Once finished, navigate to that location and open the installer.
- The installer verifies that the update applies to your system, then prompts if you want to install the update. Click Yes.
- On the update window, review the license terms, then click I Accept. Monitor the installation, and upon successful installation, click Restart Now.
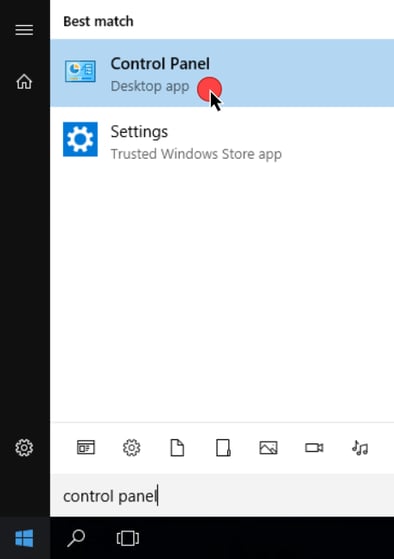
- Once the system has restarted, click the Start button and search for "control panel." Select the Control Panel app from the search results.
- In the Control Panel, click Programs, then Programs and Features. Depending on your view settings, Programs and Features may already be displayed.
- In Programs and Features, select Turn Windows features on or off.
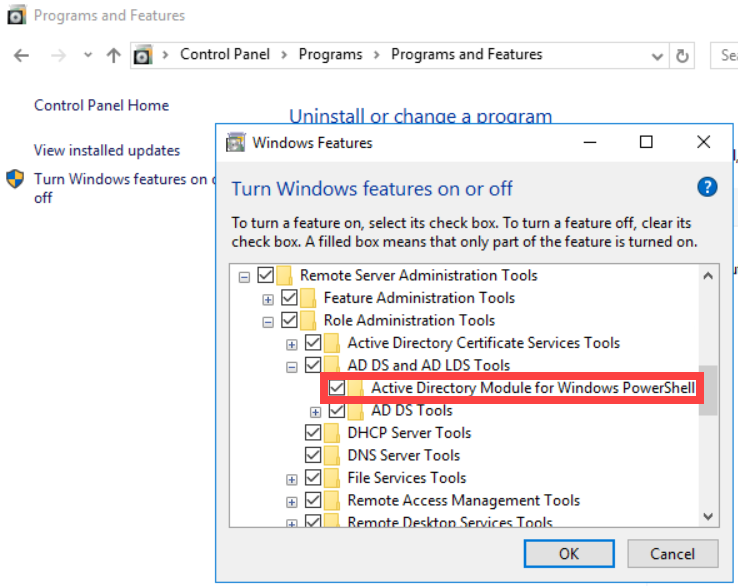
- In the Windows Features window, navigate to Remote Server Administration Tools > Role Administration Tools > AD DS and AD LDS Tools.
- If the Active Directory Module for Windows PowerShell does not have a checkmark next to its name, select the option, and click OK.
Installation for Windows 10 version 1809 and later
In October 2018, Microsoft released Windows 10 version 1809, which changed how you install the Active Directory PowerShell Module. The RSAT Tools for Windows 10 are now part of the operating system and are an optional installation feature. There are two installation methods available for these later versions.
Method 1: Install via Settings App
To install the RSAT Tools using the Settings app:
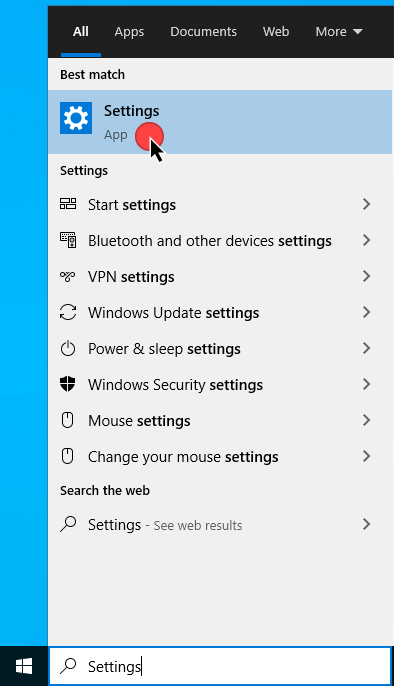
- Click the Start button and search for "settings." Select Settings from the search results.
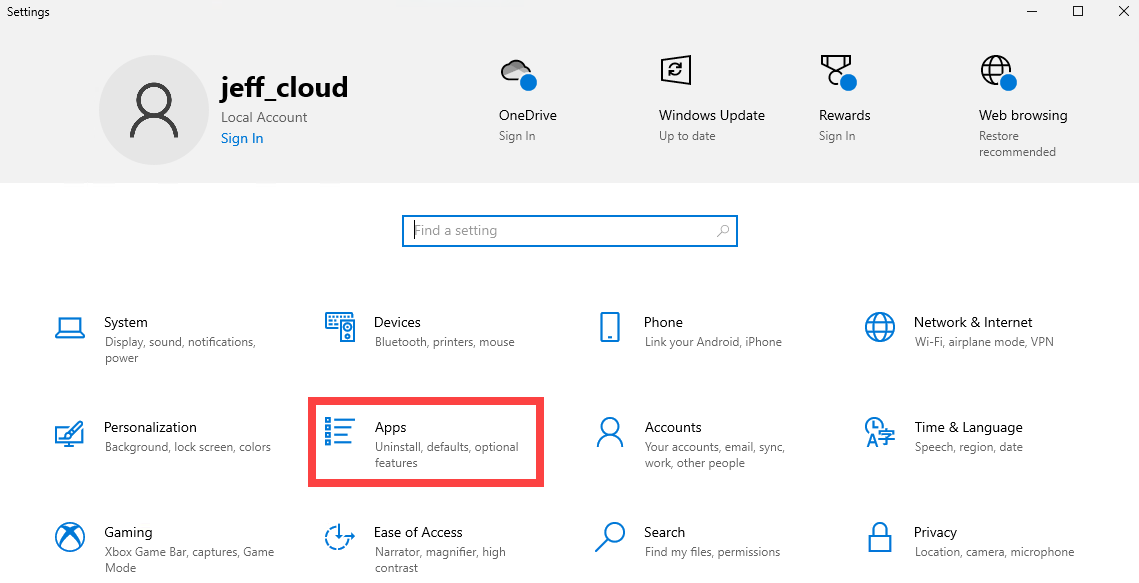
- In the Settings application, click Apps.
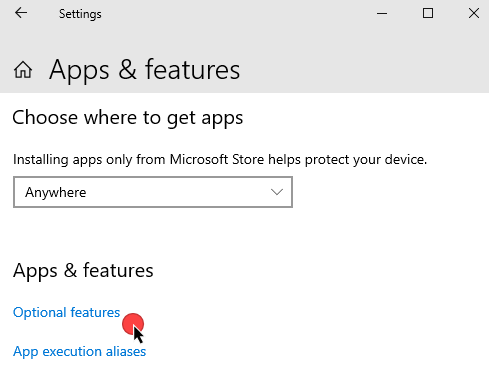
- In the Apps window, click Optional features.
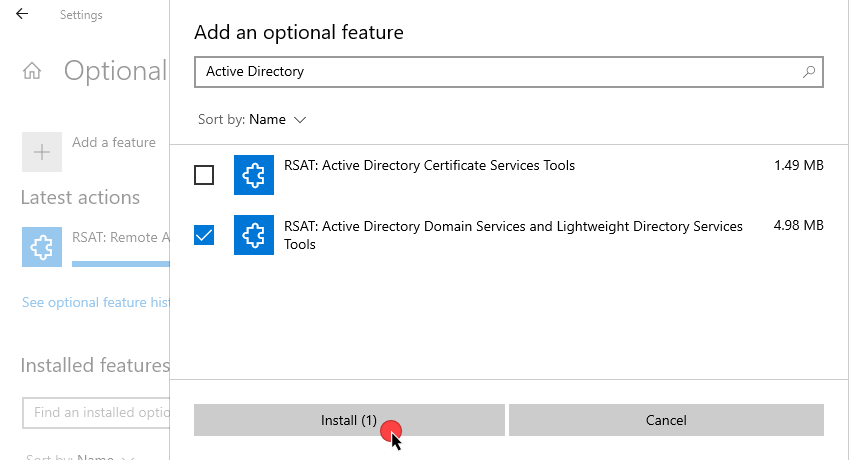
- Select + Add a feature, then type "Active Directory" in the search bar. Select RSAT: Active Directory Domain Services and Lightweight Directory Services from the results, then click Install.
Method 2: Install via PowerShell
A second option is to enable the same feature from Method 1 using PowerShell.
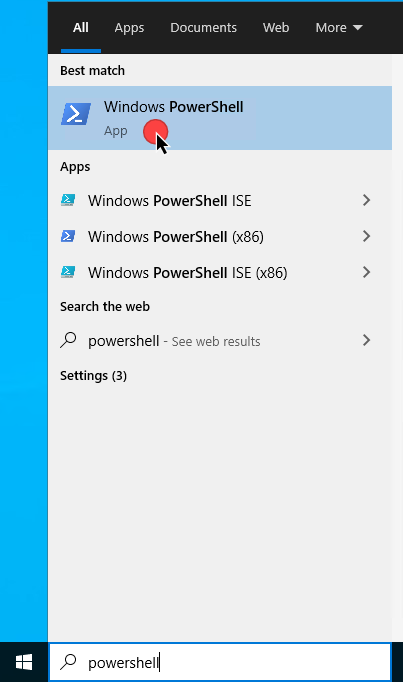
- Click the Start button and search for "powershell." Select Windows PowerShell from the search results.
.png?width=403&name=start_powershell%20(1).png)
- In the PowerShell console, use the Add-WindowsCapability cmdlet to install the Active Directory RSAT tools. Specify the -Name (Rsat.ActiveDirectory.DS-LDS.Tools~~~~0.0.1.0) and the -Online parameter to use Windows Update to install the feature.

Installing on Windows Server (Multiple Versions)
While Windows 10 has different installation procedures based on version, Windows Server has maintained the same installation method across multiple versions. While this tutorial focuses on Windows Server 2019, these methods should be valid for other versions such as:
- Windows Server 2008 and 2008 R2
- Windows Server 2012 and 2012 R2
- Windows Server 2016
Method 1: Install via Add Roles and Features
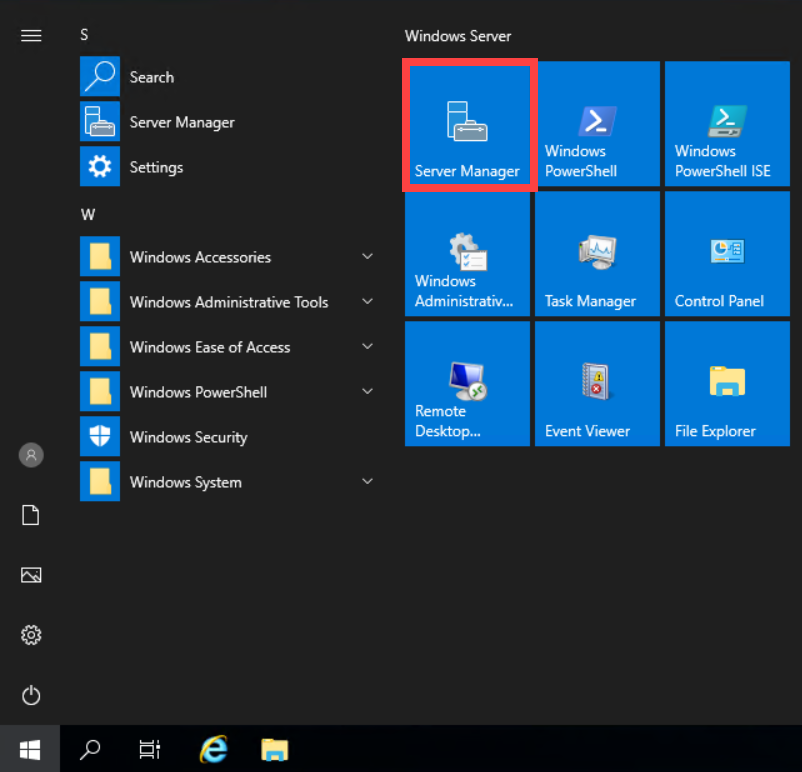
- Click on Start and click Server Manager from the Start menu.
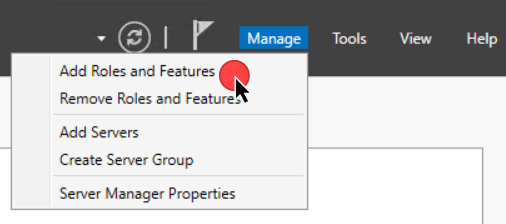
- In Server Manager, click Manage in the upper right corner, then click Add Roles and Features.
- In the Add Roles and Features Wizard, click Next if the Before you begin window is displayed. If not, proceed to the next step.
- For the installation type, select the Role-based or feature-based installation option, then click Next.
- For the server selection, select the Select a server from the server pool option, then select the server name from the server pool. Click Next.
- On the Server Roles page, no changes need to be made. Click Next.
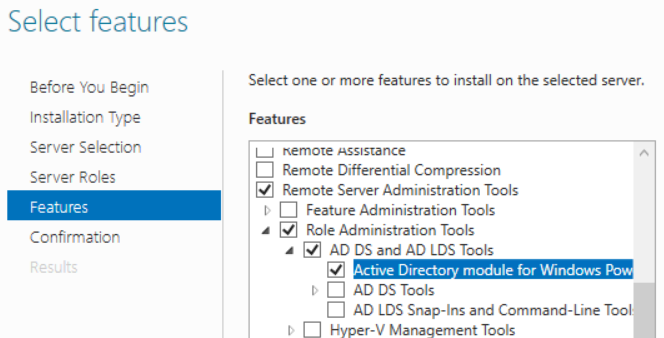
- On the Features page, expand Remote Server Administration Tools > Role Administration Tools > AD DS and AD LDS Tools, then select Active Directory module for Windows Powershell. Once selected, click Next.
- On the Confirmation page, click Install. Once the install completes successfully, click Close.
Method 2: Install via PowerShell
- Click the Start button and search for "powershell." Select Windows PowerShell from the search results.
- In the PowerShell console, use the Install-WindowsFeature cmdlet to install the Active Directory PowerShell module. Specify the feature -Name (RSAT-AD-PowerShell) and add the -IncludeAllSubFeature parameter to add any child features.

How to Import Active Directory PowerShell Module
While there are many installation methods, there is only one way to import the module! The following steps are valid for both Windows 10 and all server versions. To import the Active Directory PowerShell module:
- Click the Start button and search for "powershell." Select Windows PowerShell from the search results.
- To verify the module is available, run the Get-Module command specifying the -Name (ActiveDirectory) and the -ListAvailable parameter to search all modules installed on the system. If a result is returned like in the screenshot below, you are good to go!
- Import the module using the Import-Module cmdlet, again specifying the module's name (ActiveDirectory) using the -Name parameter.
Import-Module -Name ActiveDirectory

Success! You have installed and imported the Active Directory PowerShell module!
PowerShell Active Directory Module FAQs
What is Active Directory Module for PowerShell?
The Active Directory PowerShell module is a set of cmdlets used for managing Active Directory domains and objects. You can install the module on Windows operating systems like Windows 10 and Windows Server.
How do I import the Active Directory PowerShell module?
Use the Import-Module cmdlet with the -Name ActiveDirectory parameter and value.
How do I install the Active Directory PowerShell module on Windows Server?
In a PowerShell console, run the command Install-WindowsFeature -Name "RSAT-AD-PowerShell" -IncludeAllSubFeature.
Closing
The Active Directory PowerShell module is a powerful tool for administrators. In this article, you learned how to install the module on non-domain controller systems for remote management. Next, explore all the commands in the module to see what tasks you can automate!
Want to learn more about PowerShell scripting for Active Directory? Check out Michael Buckbee's article How to Get Started with PowerShell and Active Directory Scripting!